Hello tech enthusiasts! Welcome back to jasta, your go-to destination for all things tech. Today, we’re diving into how to get a beautiful rounded taskbar in Windows 11, providing a step-by-step guide to help you accomplish this on your computer. Whether you’re a seasoned tech guru or just starting your digital journey, our straightforward instructions will make the process a breeze. Let’s jump in and set up your rounded Taskbar on Windows 11.
Table of Contents
How Will Your Rounded Taskbar finally look
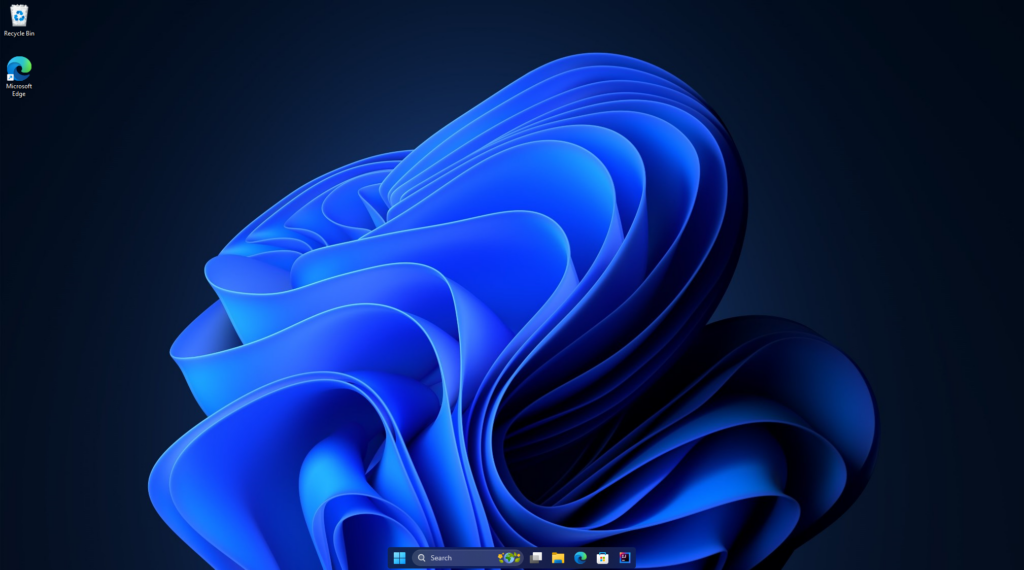
With the upgrade from Windows 10 to Windows 11, you already get more customization features for your taskbar. But you might still not be happy with the aesthetics of it. With this tutorial, you can change your taskbar from this:
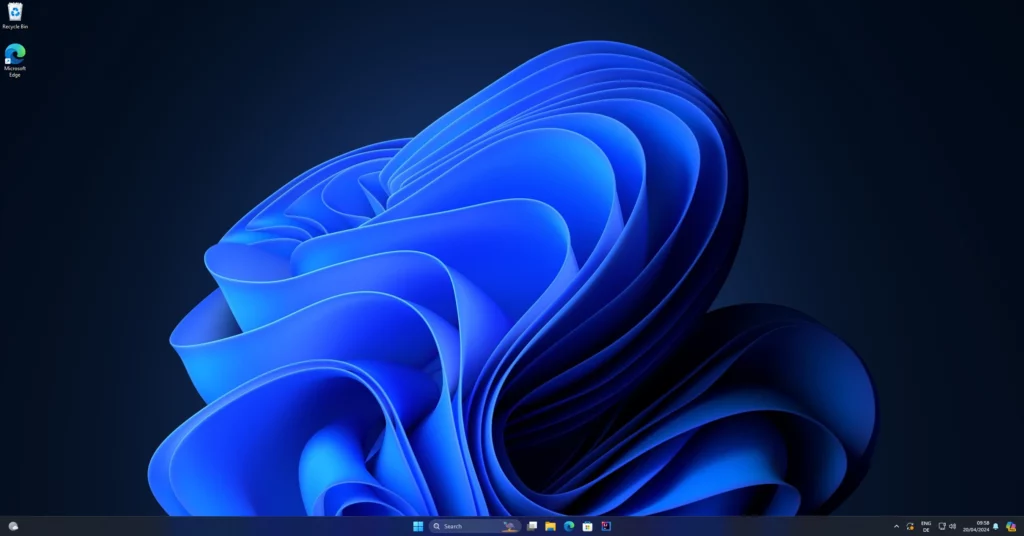
to that:
Download the Rounded Taskbar Program
To get a rounded taskbar in Windows 11, you first need to download RoundedTB. Here you can find the latest released version. After opening the release page via the link provided, you have to scroll down till you see the RoundedTB_canaryXXXXXXXX_2.7z file. Just click on it and the download will start automatically. After the download is finished, you need to unzip the file to a location of your choice. Keep in mind that you download the ‘whole’ program and not just a setup. Every file from the zip file must stay in the same location as the exe file as long as you use RoundedTB.
Set up Your Rounded Taskbar in Windows 11
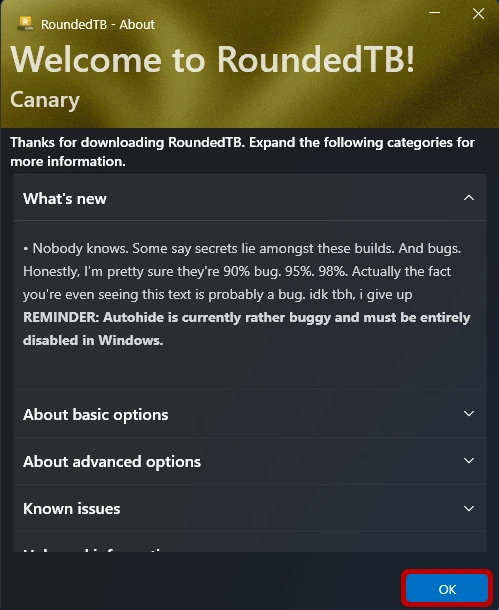
After downloading and unzipping the file, you have to execute the exe file, which is located inside the extracted zip file first. You will then see a welcome window on your screen where you can just press OK to come to the final taskbar customization window.
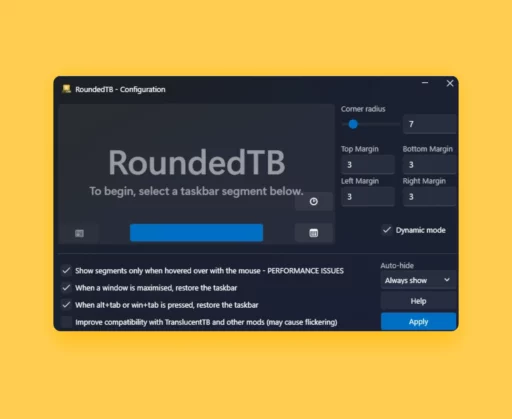
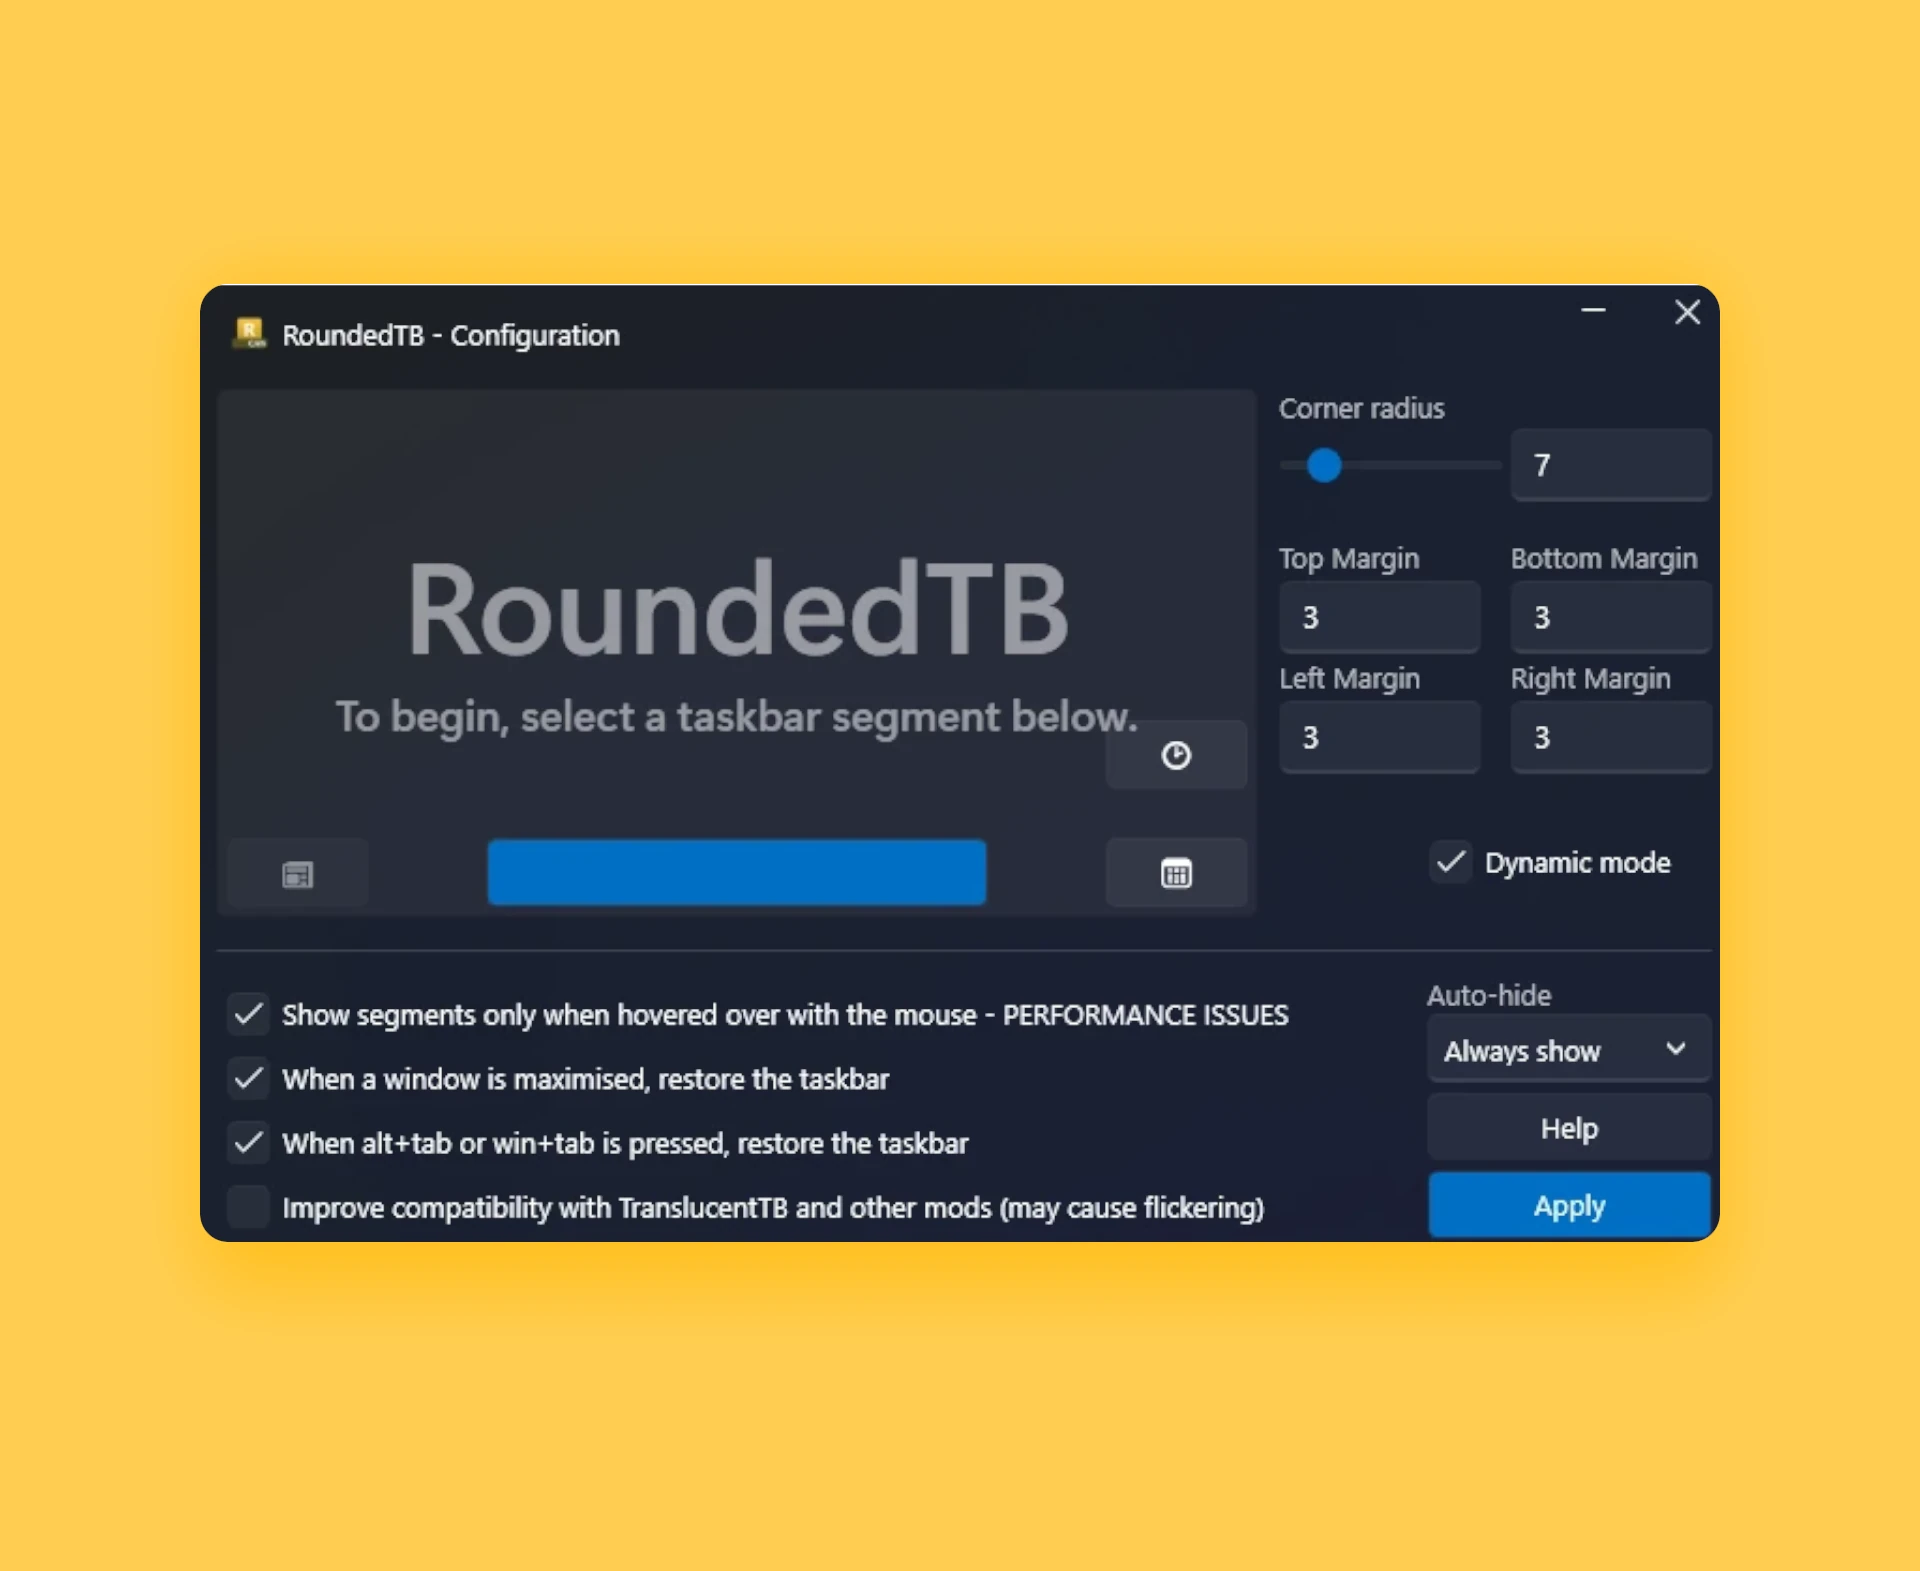
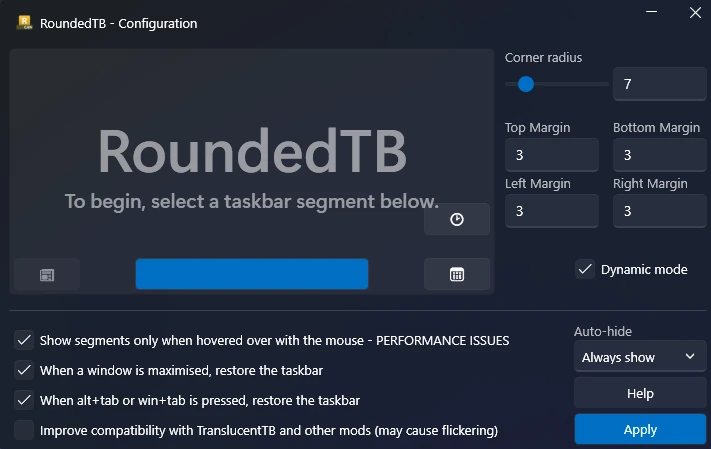
After clicking OK, you will already see the configuration window, where you can set various settings. The first thing you need to decide is, whether you enable dynamic mode. When disabled the whole taskbar is configured as one element. If the dynamic mode is enabled you can customize the notification area separately. So if you want a clean taskbar with just your programs in the middle you can set the following settings to the taskbar:
For the notification area you should set:
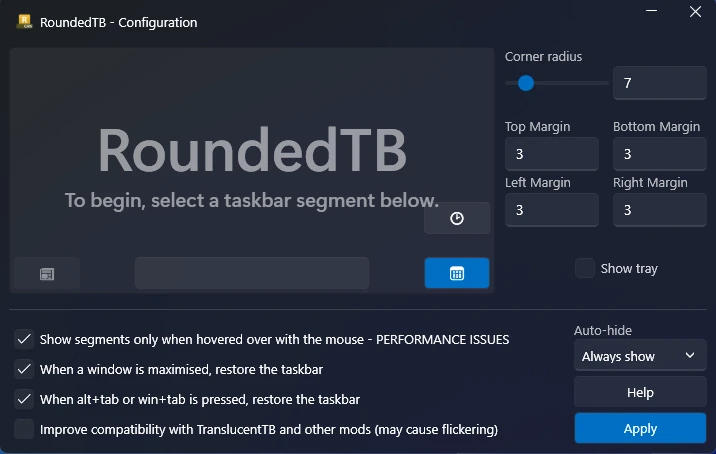
Now only your actual taskbar with your programs will be visible. The notification area will appear as soon as you hover over it with your mouse. Also, don’t forget to disable Widgets for your taskbar, otherwise only one-half of the taskbar will be gone. This can be done via settings -> personalization -> taskbar -> taskbar items.
If you still find your taskbar kind of weird looking, try to open the taskbar settings and change the alignment to left and then back to right. Now everything should look normal.
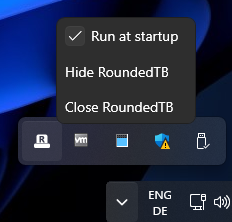
The last thing you need to do is automatically start the program when booting your computer. For that, you just have to right-click on the program icon in the notification area and check ‘Run at startup’.
Important: If you update from a previous version, you need to delete or rename the old settings file of RoundedTB, since this is not compatible with this new version. It is located in %USERPROFILE%\APPDATA\Local\. The name of the file is rtb.json.
Now you have a rounded taskbar in Windows 11, which should look like the taskbar in the screenshot at the beginning of the tutorial. Should you encounter any questions or challenges, don’t hesitate to reach out. Your feedback, queries, and insights are always valued, and I’m here to assist you. Until next time!


