Hello tech enthusiasts! Welcome back to jasta, your go-to destination for all things tech. Today, we’re diving into how to implement logging in Java with Log4j2, providing a step-by-step guide to help you accomplish this on your computer. Whether you’re a seasoned tech guru or just starting your digital journey, our straightforward instructions will make the process a breeze. Let’s jump in and start implementing logging in Java with Log4j2.
Table of Contents
Why Proper Logging is Necessary for Every Application
Proper logging is indispensable for every application as it serves as a crucial lifeline for developers and operators alike. Logging provides a detailed record of system behavior, errors, and events, aiding in troubleshooting and debugging processes. It offers insights into the application’s health, performance, and usage patterns, enabling developers to identify and rectify issues promptly.
Moreover, comprehensive logs enhance security by facilitating the detection of suspicious activities or breaches. In essence, robust logging practices not only enhance the reliability and maintainability of an application but also contribute significantly to its overall security and performance.
Adding Log4j2 Dependencies to Your Project
Before implementing logging in Java with Log4j2 you first need to add certain dependencies to your Java project so that you can use Log4j2. If you are using Kotlin as your DSL you can copy the required dependencies from below. If you use any other language you can find the correct dependency implementation on the Maven repository. To follow this tutorial you need the slf4j-api dependency and the log4j-slf4j2-impl. The dependencies need to be added to your build.gradle if you use Gradle or to your pom.xml if you use Maven.
    implementation("org.slf4j:slf4j-api:2.0.12")
    implementation("org.apache.logging.log4j:log4j-slf4j2-impl:2.23.1")
Implement Logging in Java with Log4j2
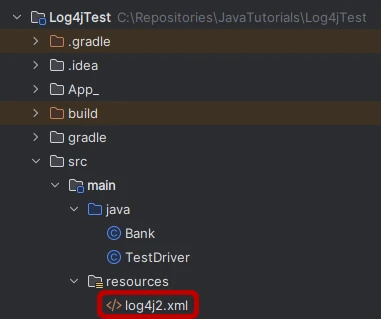
The first thing you need to do to implement logging in Java with Log4j2 is, to create a configuration file. In that file, you need to define different settings like log levels, different log appenders and settings for these like a Rollover strategy. The file must be placed in your application’s resources folder and named ‘log4j2’. The file type is XML. After the creation, it should look like the red highlighted file below.
Inside the file, you can now define different configurations. For example, you can create a File logger or configure it, to log everything in the application console. But you can also configure multiple loggers. All the different configurations can be found on the website of Apache about log4j2.
In this tutorial, we are going to create a file logger. The file logger will be configured with a SizeBasedTriggeringPolicy which means that if the current log file of the app is bigger than the configured value, a new log file will be created and the ‘full’ one will be saved. We are also adding a DefaultRolloverStrategy. With that, it can be prevented that hundreds of ‘full’ log files are being created. You can have different conditions to delete old log files like a maximum amount, an age limitation and many more.
You can copy the full code of the file logger configuration from the jasta GitHub repository or from below. Carefully read the comments in the XML file to fully understand the meaning of each line inside the file, configure it to your requirements, and implement your custom logging in Java with Log4j2.
<?xml version="1.0" encoding="UTF-8"?>
<!--
Status defines the level of internal Log4j events that should be logged to the console.
If there are any configuration problems without an obvious error you can set it to trace or other levels.
Valid values are: off, trace, debug, info, warn, error, fatal, all
-->
<Configuration status="info">
  <Properties>
    <!--
    The path of the log directory. With the configuration below, the log files are stored under
    <drive>:\logs
    -->
    <Property name="LOG_DIR">/logs</Property>
  </Properties>

  <Appenders>
    <!--
     name: The name of the appender
     fileName: The name of the current log file
     filePattern: The file names of any older log which is created if the current log size exceeds the SizeBasedTriggeringPolicy
     immediateFlush: Log is written as soon as the log methods are called
     -->
    <RollingFile
      name="fileLogger"
      fileName="${LOG_DIR}/AppCurrent.log"
      filePattern="${LOG_DIR}/App_%d{yyyy-MM-dd_hh-mm-ss}.log"
      immediateFlush="true">
      <PatternLayout>
        <!--
        The format of the log message inside the file
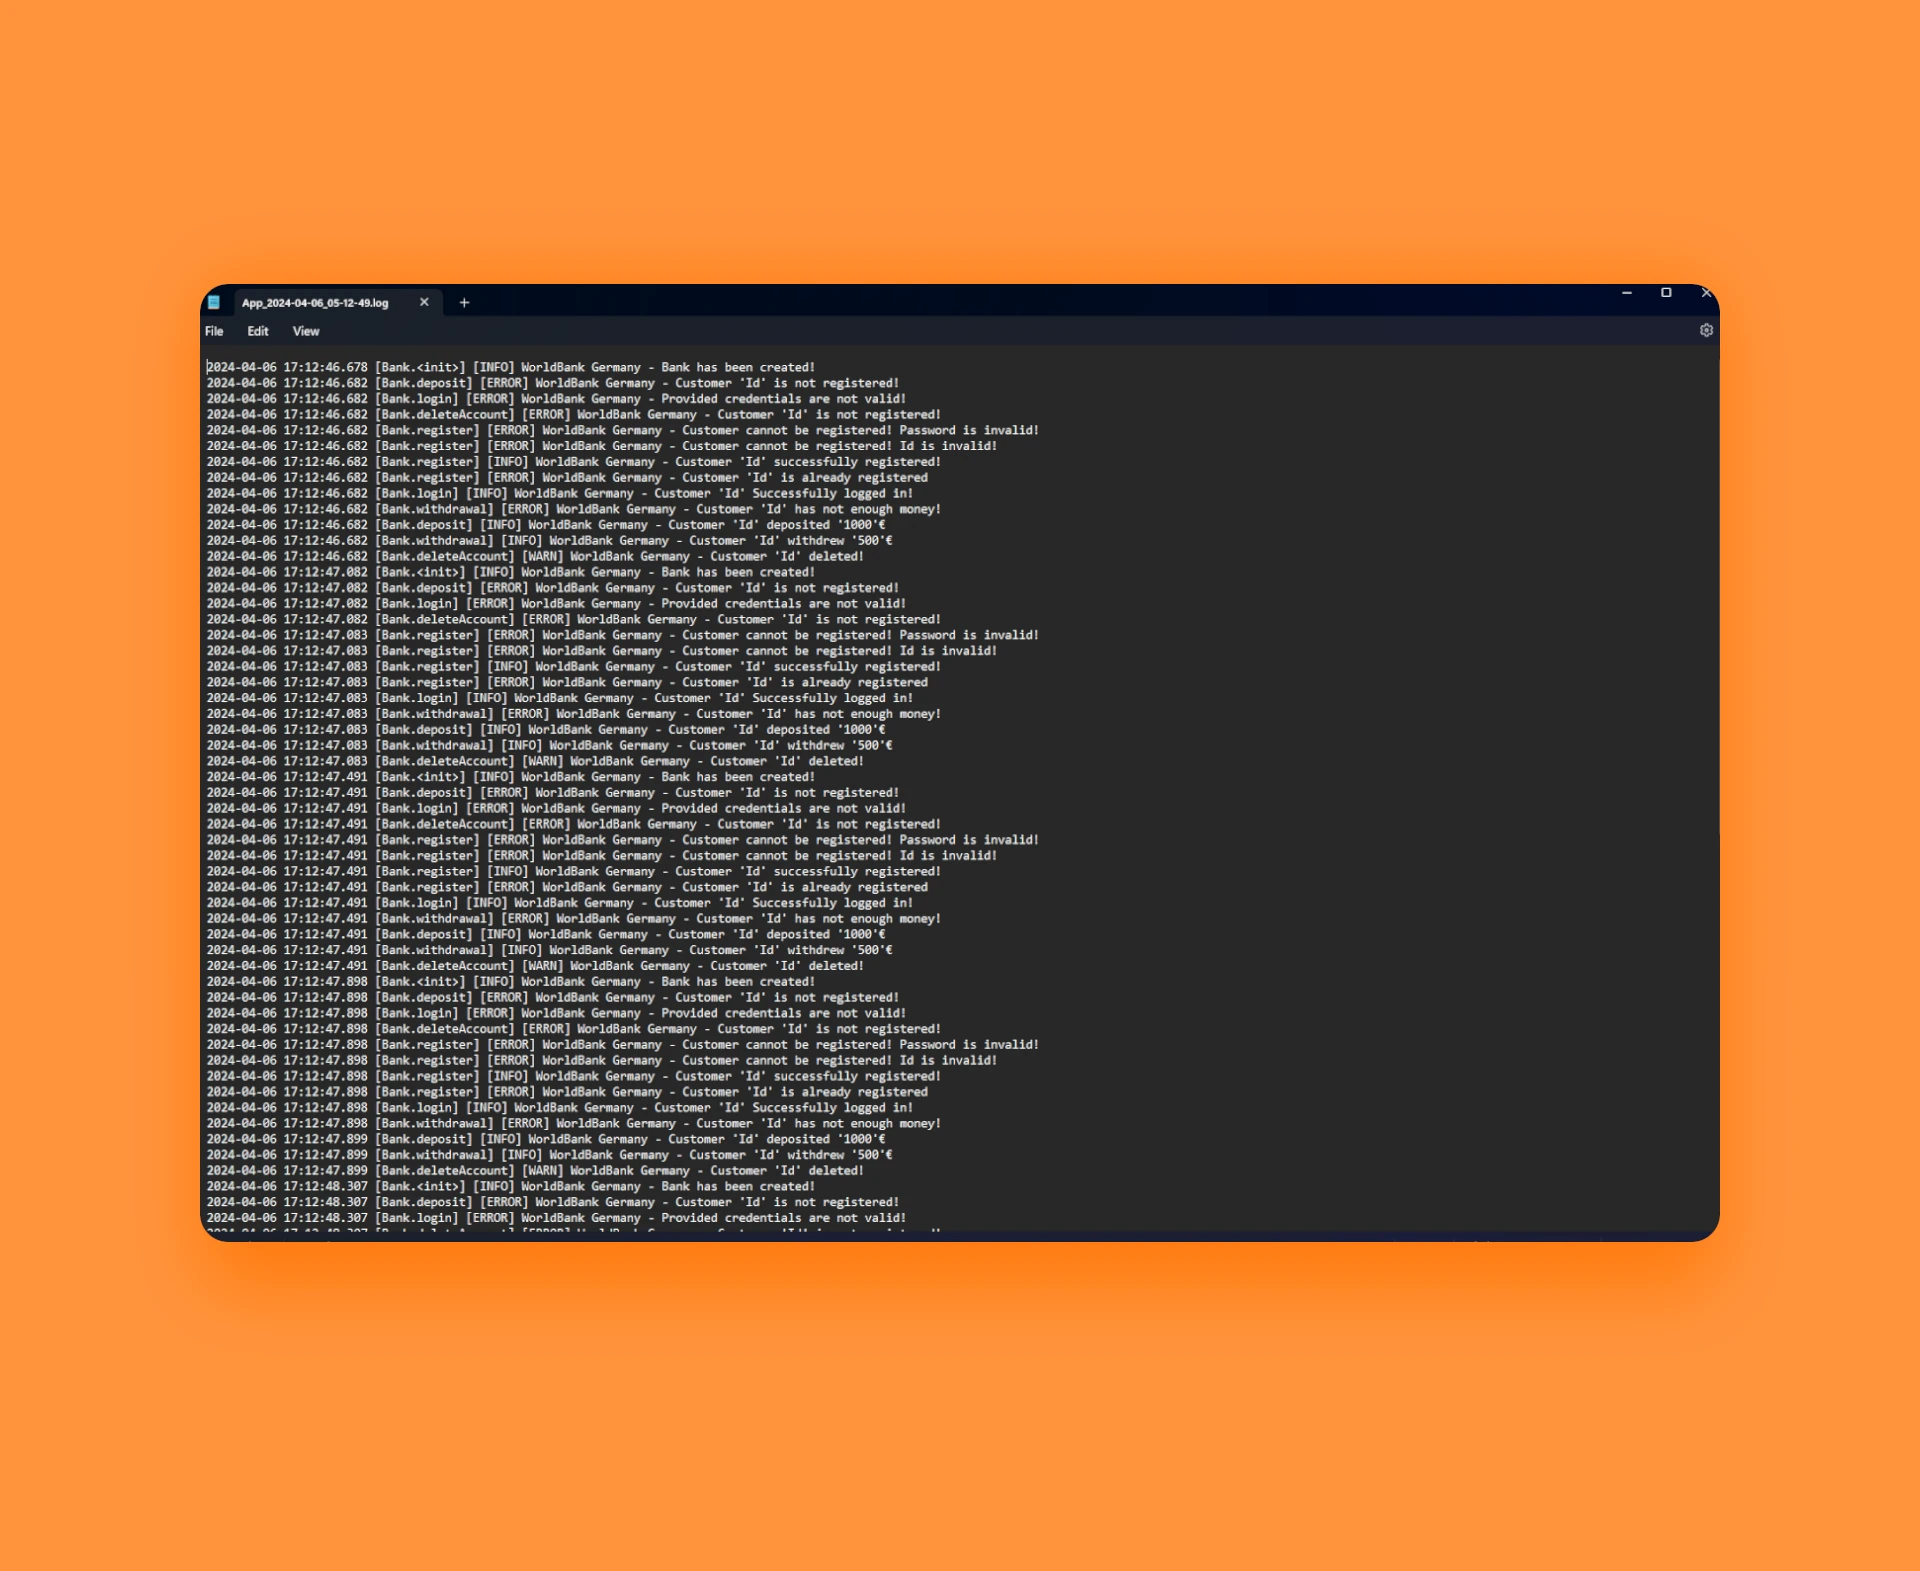
        Example: 2024-04-04 18:57:29.369 [Bank.register] [INFO] WorldBank Germany - Customer 'Id' successfully registered!
        Definition: <Date with Time> [<ClassName>.<Method>] [<Message Log Level>] <LoggerName> - <Message>
        -->
        <Pattern>%d{yyyy-MM-dd HH:mm:ss.SSS} [%C{1}.%M] [%level] %logger{36} - %msg%n</Pattern>
      </PatternLayout>
      <Policies>
        <!-- Maximum size of the current log file -->
        <SizeBasedTriggeringPolicy size="10MB"/>
      </Policies>

      <!-- Rollover strategy to delete old log files -->
      <DefaultRolloverStrategy>
        <!-- Search path for the deletion and depth (1 = just the search path not any subfolders, -1: search path with every subfolder, 2,3,4...: search path with x subfolders -->
        <Delete basePath="${LOG_DIR}" maxDepth="1">
          <!-- File name pattern for the old log files -->
          <IfFileName glob="App_*.log"/>
          <!-- Maximum amount of old log file -->
          <IfAccumulatedFileCount exceeds="10"/>
        </Delete>
      </DefaultRolloverStrategy>
    </RollingFile>
  </Appenders>

  <Loggers>
    <!--
    The log level of the root logger which will be applied to the child logger.
    With info log messages with .info, .error, .warn are logged - .debug for example will not get logged
    Valid values are: off, trace, debug, info, warn, error, fatal, all
    -->
    <Root level="info">
      <!-- Add the appender via its name -->
      <AppenderRef ref="fileLogger"/>
    </Root>
  </Loggers>
</Configuration>
After you have copied the code above or configured it to your requirements, you can start logging in Java with Log4j2. Therefore you have to call LoggerFactory.getLogger(<ConstructorParameter>) with either a class or a String as a constructor parameter. The given Parameter will be the name of the logger. The returned Object will be a Logger Object from org.slf4j.Logger. You can now call different log methods like debug, error, info, warn, trace and many more. Depending on what log level is set in the configuration file some messages will not get logged. All available methods can be seen here.
An example declaration would look like this:
private static final Logger LOGGER = LoggerFactory.getLogger(TestDriver.class);
Later the Logger object can be used like this:
LOGGER.info("Application is starting...");
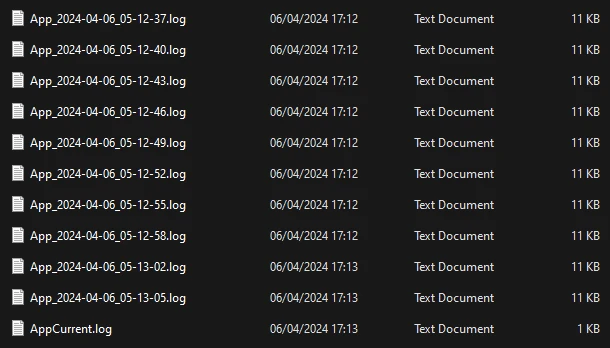
If you are logging much, your log output directory will look similar to the screenshot below. As you can see, a new log file is created after 10KB (in this case 11KB since it is such a small unit. With MB it would not be 11MB). Also, the old log files are created with the date and time as configured in the log4j2.xml file. Furthermore, the limit of 10 old log files is also considered. If a new log file were to be created, the oldest log file, in this case ‘App_2024-04-06_05-13-05.log’, would be deleted.
This was the process of implementing logging in Java with Log4j2. If you have any questions or trouble implementing your logging system feel free to leave a comment below.


