Hello tech enthusiasts! Welcome back to jasta, your go-to destination for all things tech. Today, we’re diving into how to set up a mighty Android development environment, providing a step-by-step guide to help you accomplish this on your computer. Whether you’re a seasoned tech guru or just starting your digital journey, our straightforward instructions will make the process a breeze. Let’s jump in and set up your Android development environment.
Table of Contents
Hyper-V to Simulate a Virtual Smartphone
The first thing you need to do before you can set up your Android development environment is to enable Hyper-V. This is necessary to run a simulator for a virtual smartphone on your computer. This simulator is used later for testing the Apps you are going to develop. If you do not want to do that, you always have to use a real smartphone to run your developed Apps. So a smartphone simulator will make your developer’s life a lot easier.
To activate Hyper-V you can read our guide on how to Enable Hyper-V on Windows 11 Pro and Unlock Powerful Virtualization.
Android Studio as Android Development Environment
There are many platforms out there, where you can develop Android apps. But the best development environment will be Android Studio. It is built and distributed directly by Google, which also developed Android.
Android Studio has two major benefits:
- It is specifically designed for developing Android apps. So everything necessary is already integrated including the simulated smartphones – so there is no Plugin installation needed.
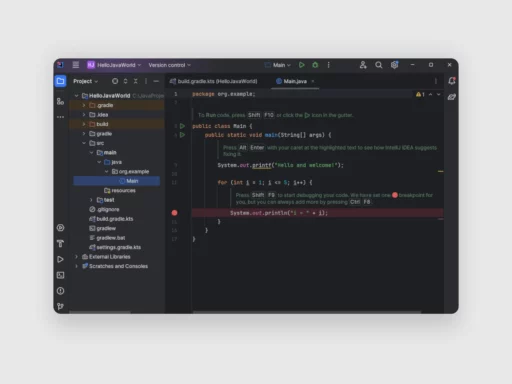
- Android Studio is built on JetBrains IntelliJ IDEA – so if you are already familiar with IntelliJ you will love Android Studio because the user interface is almost the same.
Downloading and Installing Android Studio
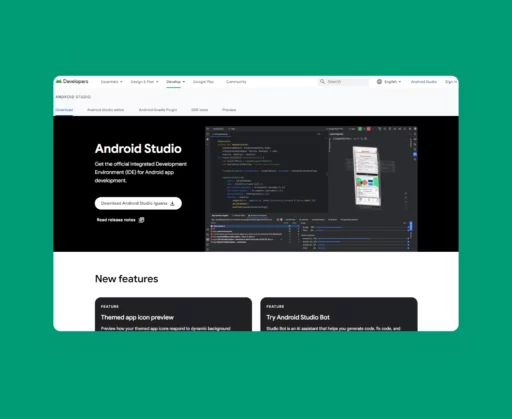
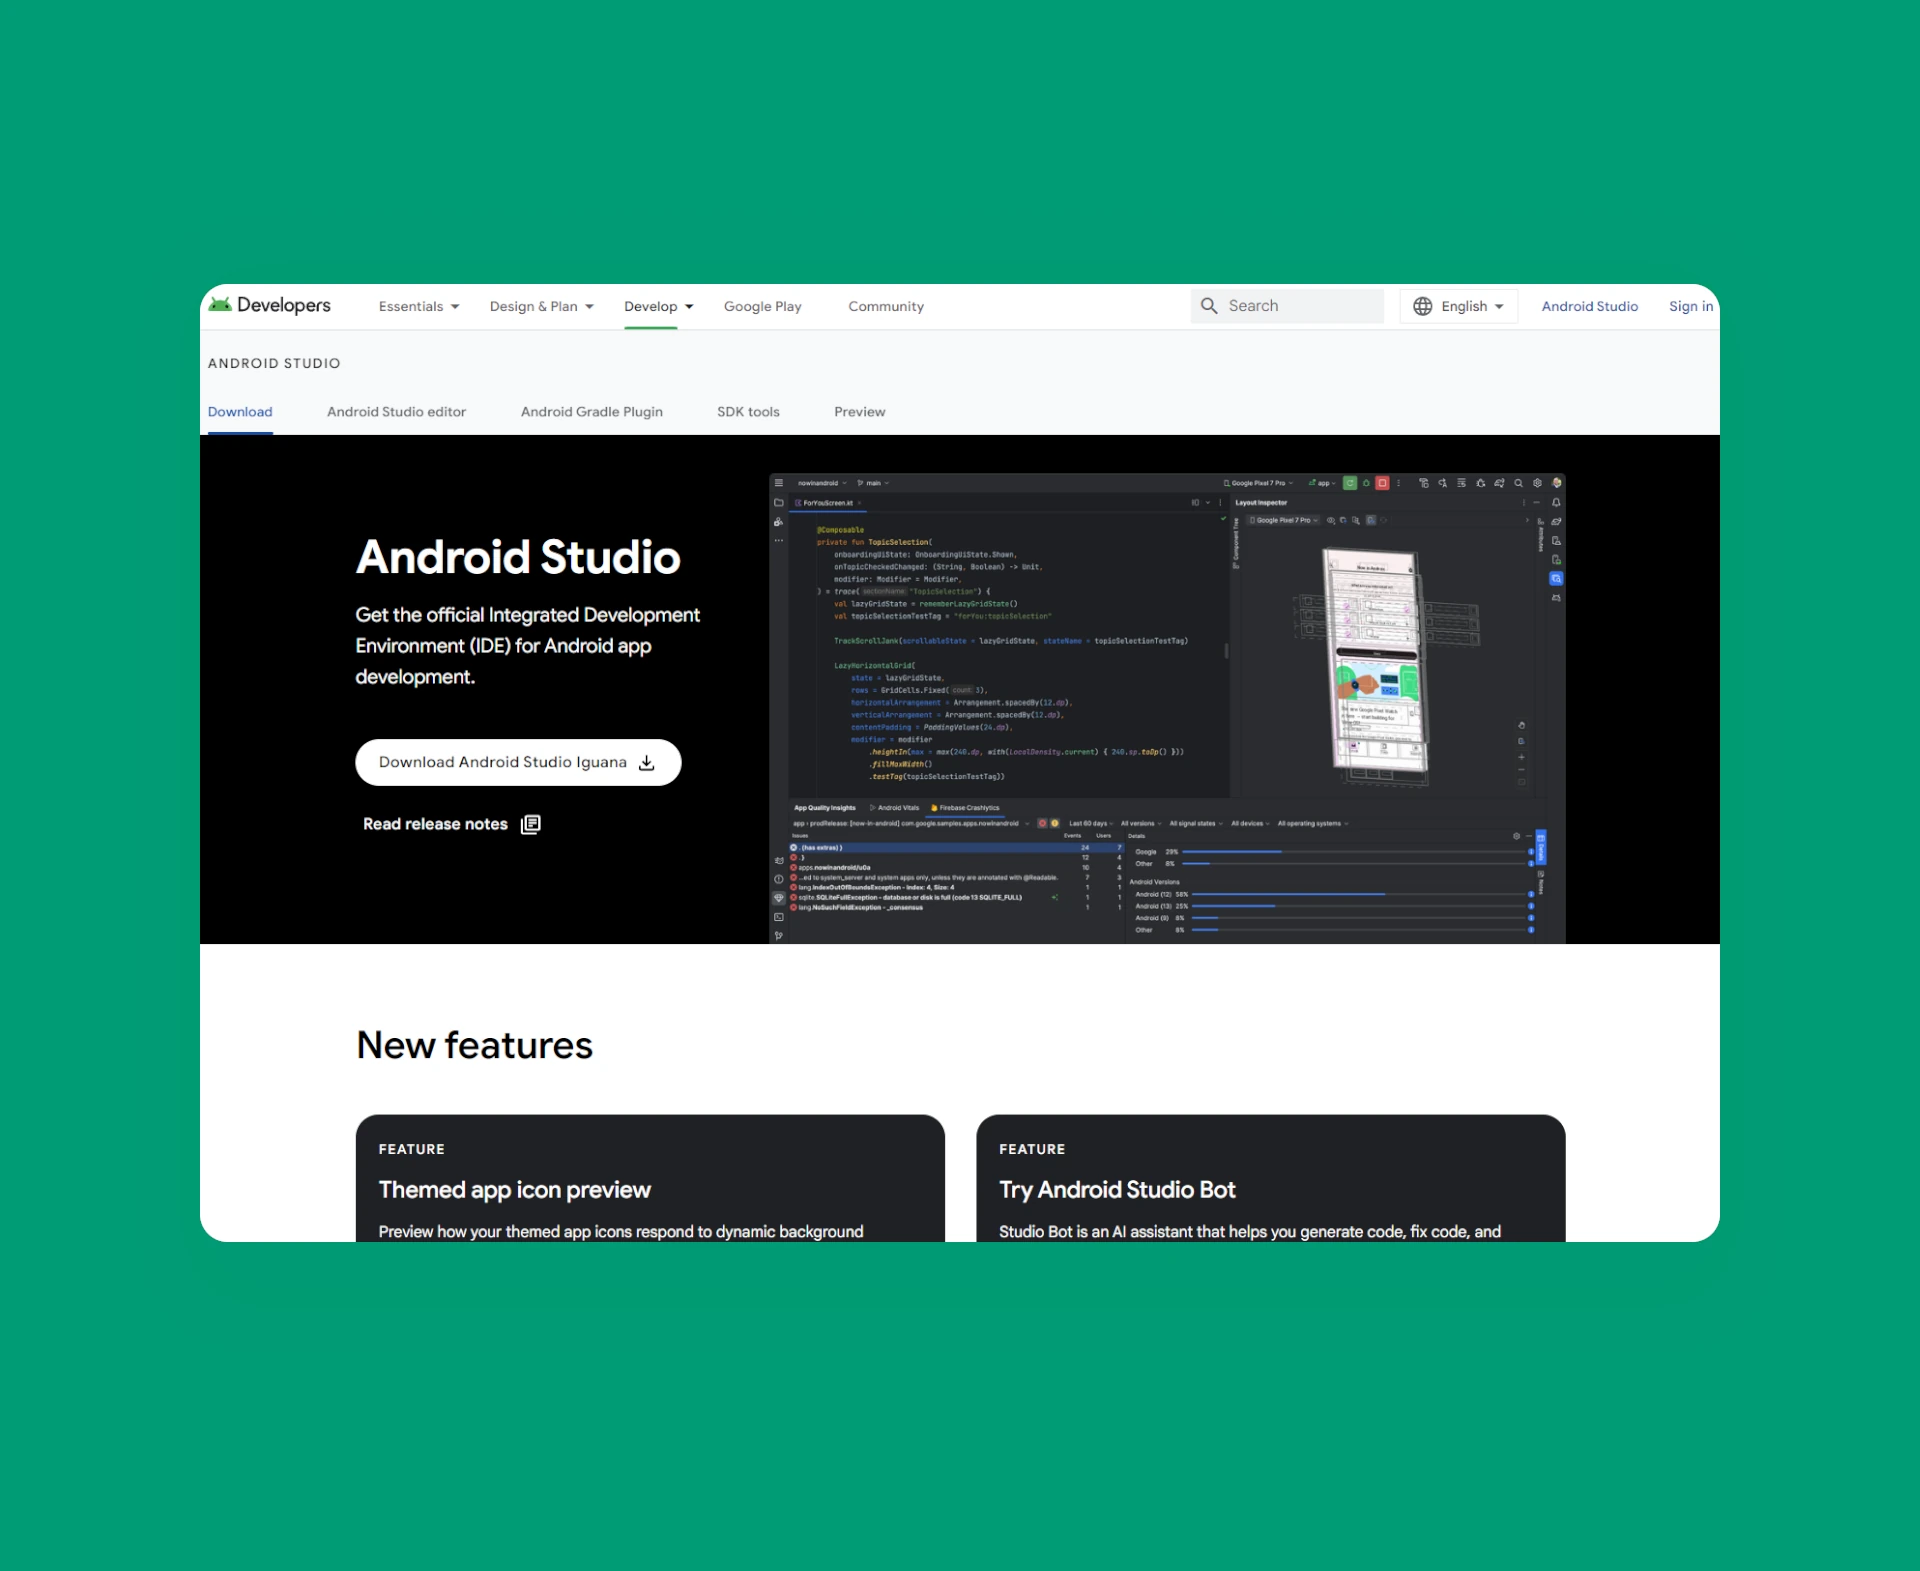
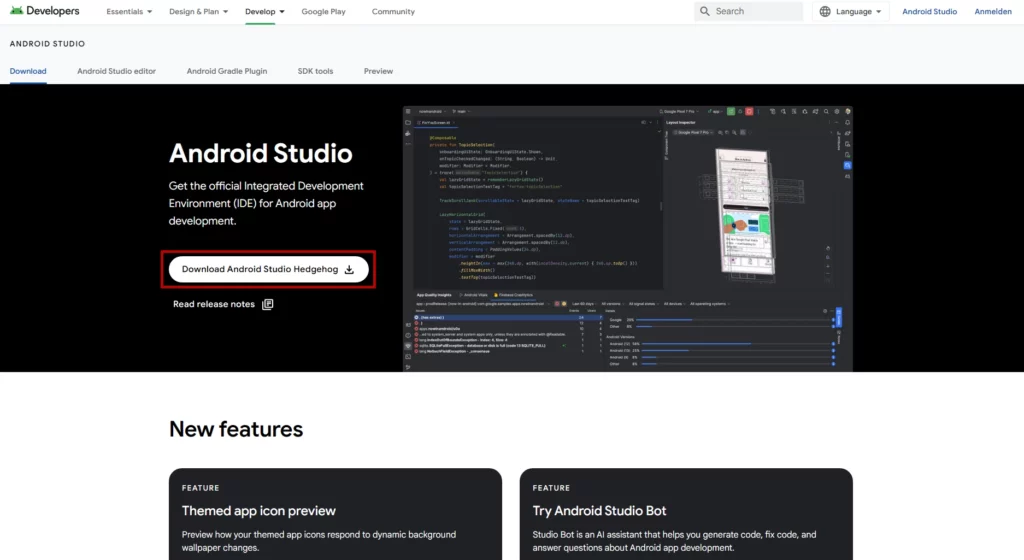
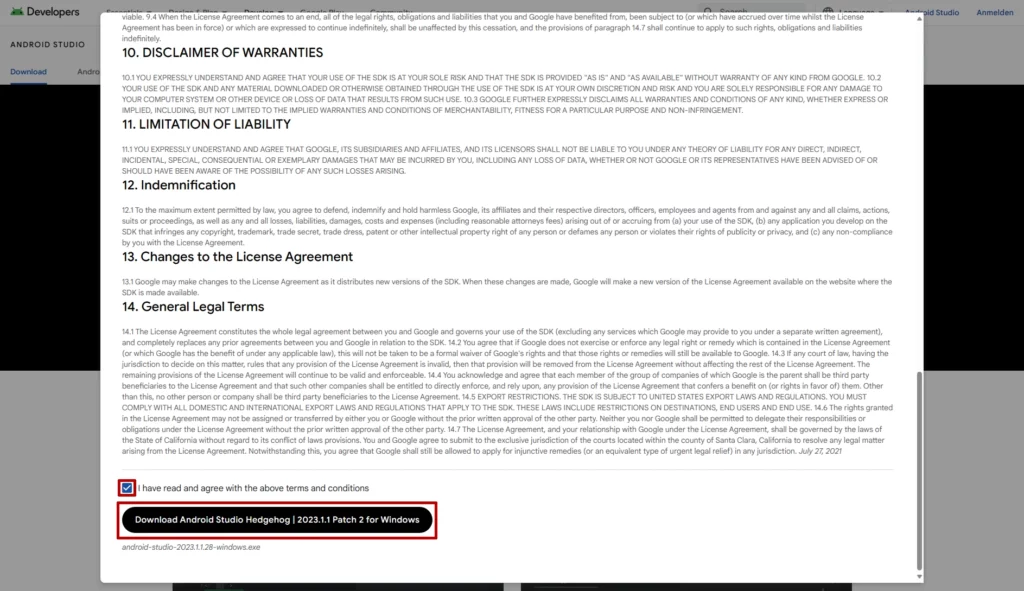
To download Android Studio, you first need to visit the official download site. There you should already see a Download Android Studio button in the middle of the page. When you click on that, a popup for the terms and conditions will pop up. To start the download you have to scroll down on the page, check the checkbox that you have read and agree with the terms and conditions and press Download Android Studio again. Now the download of the setup .exe file will start
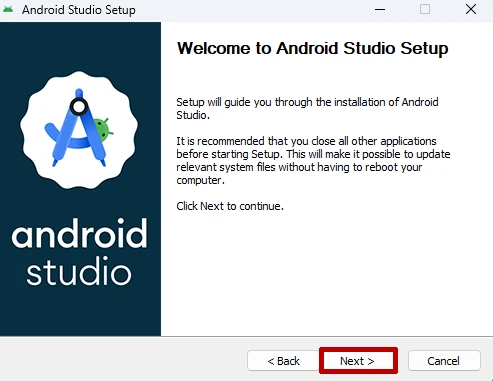
After the download is complete, you can open the setup file to start the installation process. The first page you will see looks like the screenshot below. You just have to press Next.
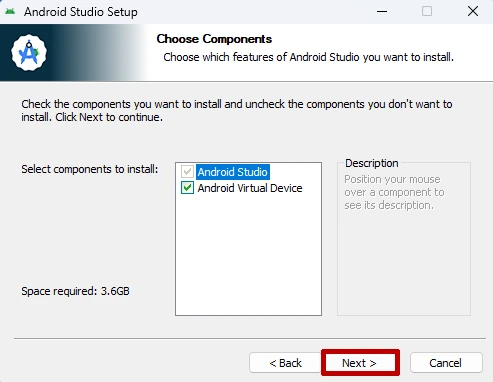
The next window will ask you what components you want to install. There you can already define if you want to install the Android Virtual Device component as well as the Android development environment itself. If you want to use a simulated smartphone make sure that the checkbox next to the Android Virtual Device is checked and confirm your choice by pressing Next.
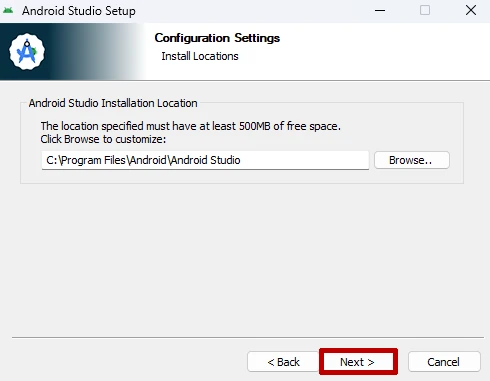
On the following device, you can choose your installation path. To speed up your program, I would recommend installing it on an SSD.
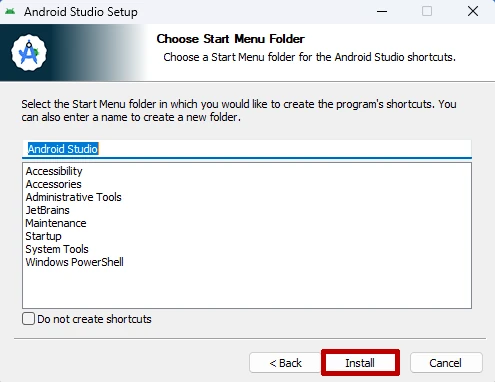
The next page asks you if you want to put your Android Studio application in a new Start Menu Folder or if you want to add it to an already existing one. You can choose whatever you like, change the name of the new folder, or also mark the checkbox at the bottom to not create a shortcut at all. After you have decided what you want to do, you can click on Install to start the installation process of your Android development environment.
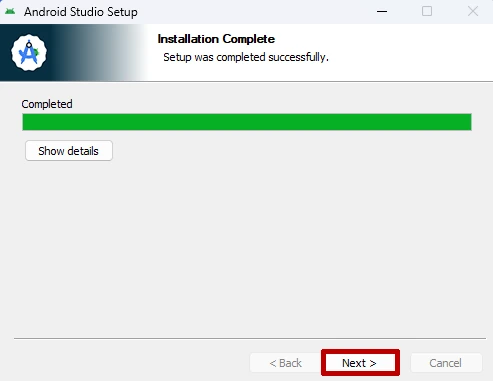
After pressing Install, the setup will start the installation of Android Studio. When the progress bar is full and the text above it states Completed, you can press the Next button on the bottom to open the final setup window.
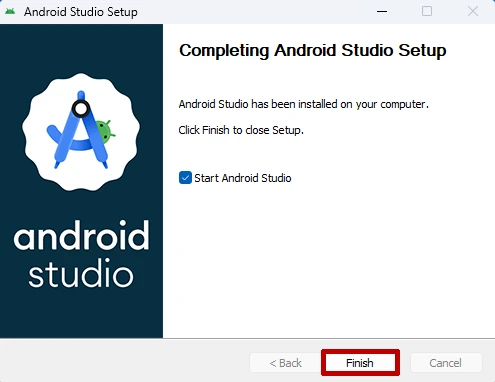
If you want to setup and start Android Studio right now, you have to mark the checkbox. Otherwise, you can deselect it. Either way, you need to click on Finish to complete the installation process.
Setting up Android Studio
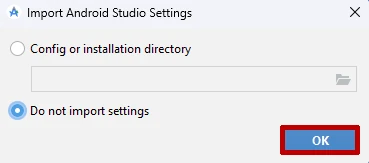
After starting up Android Studio, you will be confronted with the importing of Android Studio settings. If you do not have exported settings from another computer or you have already installed Android Studio previously, you just have to select ‘Do not import settings’ and click on OK.
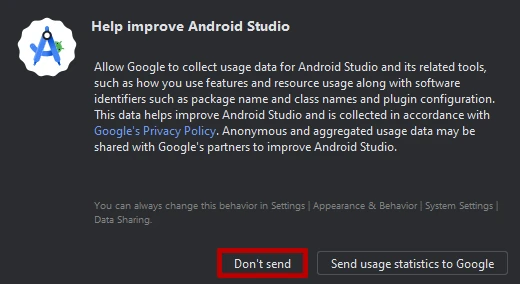
After pressing OK you will see the dialog from the screenshot below. It is asking you to send usage statistics to Google to help them improve Android Studio in the future. You can decide if you want to do that or not. In this case, I am pressing Don’t send.
On the following Welcome screen of the Android Studio Setup Wizard, you just need to click Next.
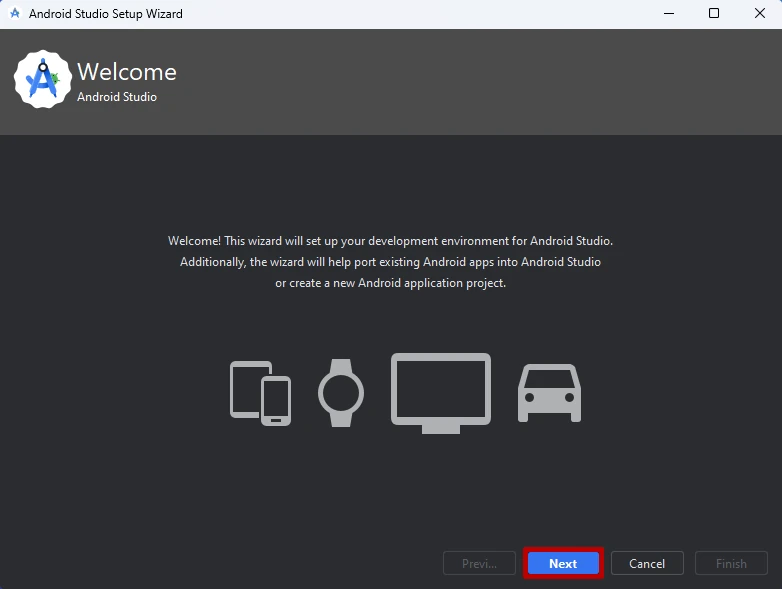
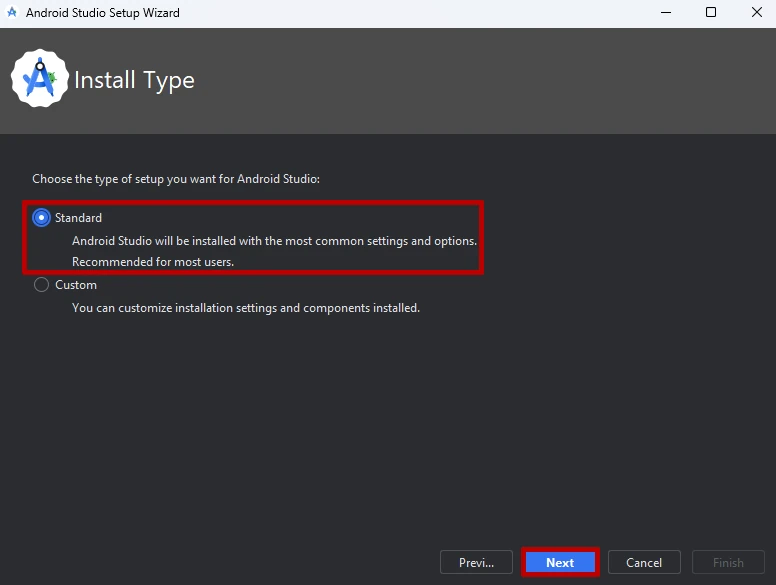
The next window asks you for the Installation Type. There you can just select Standard and start the final installation of all necessary things for your Android development environment with a click on Next.
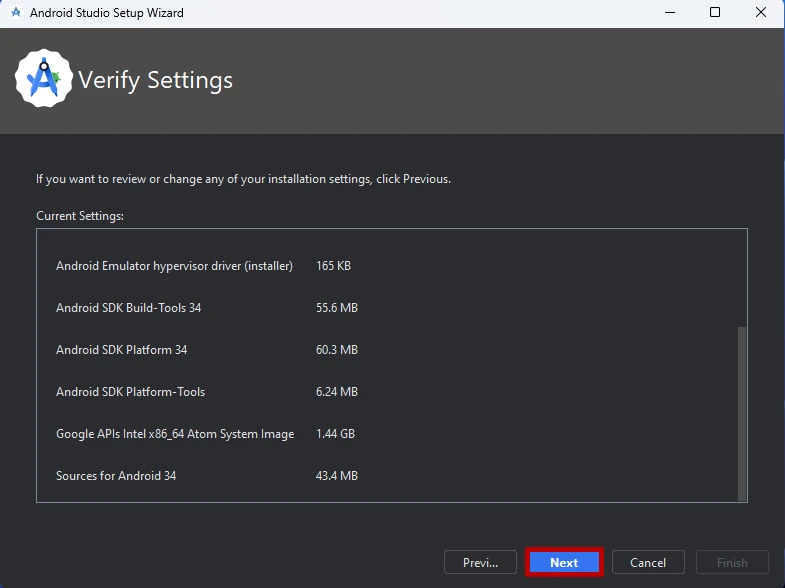
On the following screen, you see a short overview of the things that get installed. If you want to change your installation type you can do that by pressing previous. If you want to continue with the installation click on Next.
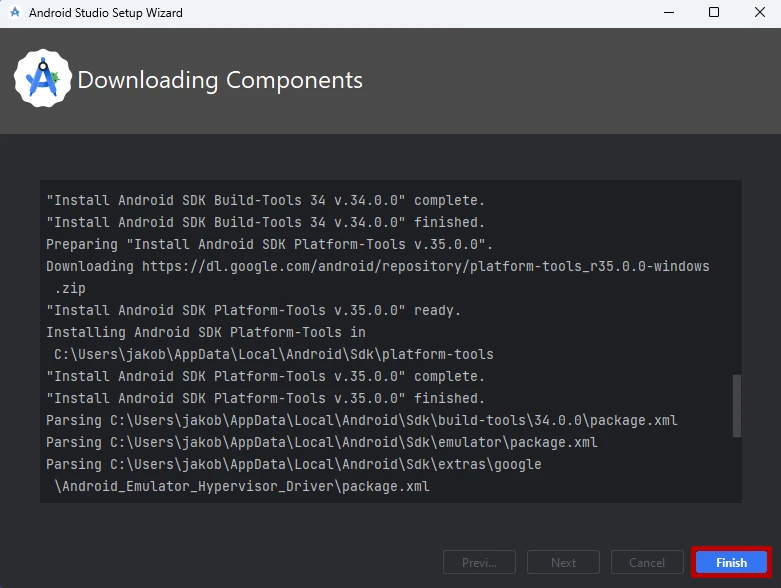
After pressing Next the installation of all required components for your Android development environment will start. After finishing you can click Finish to get to the next page.
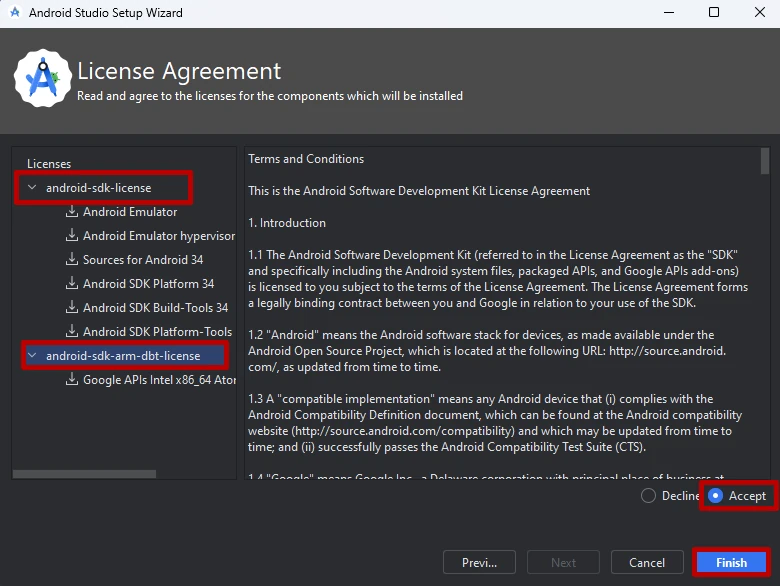
On this page, you just have to agree to the licenses of your downloaded components. You have to accept each license separately by clicking on it in the left column and selecting Accept in the bottom right corner. After accepting all, you can click Finish.
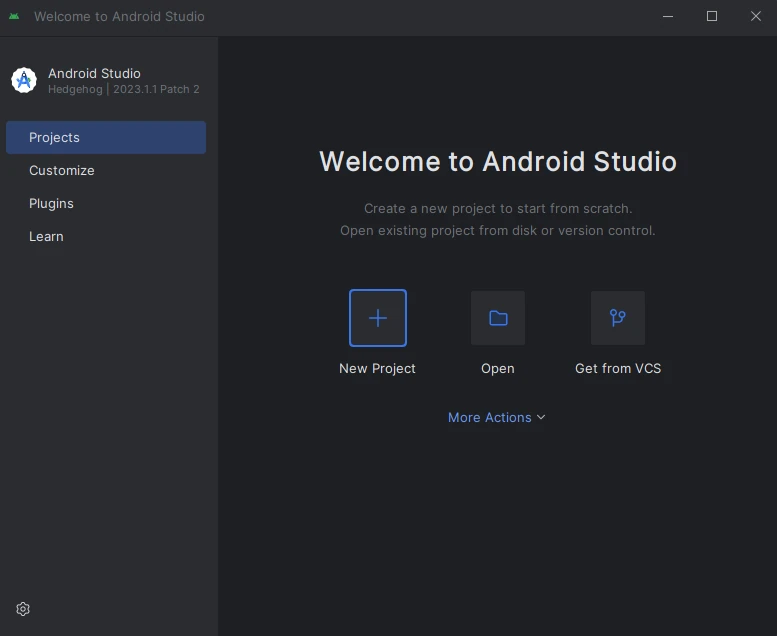
Now you will see the starting screen of Android Studio your new Android development environment. If you are using already IntelliJ IDEA you will recognize this page already.
If you have any questions regarding the setup process or the installation feel free to reach out to me via the comments or the contact form!


