Hello tech enthusiasts! Welcome back to jasta, your go-to destination for all things tech. Today, we’re diving into how to easily set up a powerful Java development environment with IntelliJ IDEA, providing a step-by-step guide to help you accomplish this on your computer. Whether you’re a seasoned tech guru or just starting your digital journey, our straightforward instructions will make the process a breeze. Let’s jump in and set up a powerful Java development environment.
Table of Contents
Integrated Development Environment – IDE
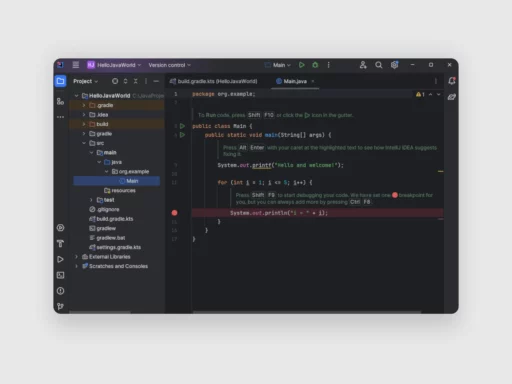
To start programming, you need to install what is known as an IDE, short for Integrated Development Environment. This handy tool allows you to write, compile and debug code – all in one place. It’s like a programming helper and offers features such as syntax highlighting and code completion to make your programming easier.
Whether you are a beginner or an experienced developer, an IDE is an essential companion in your programming adventures.
Downloading IntelliJ IDEA
To set up a powerful Java development environment we use IntelliJ IDEA. IntelliJ is the leading Java IDE on the market. It is extremely feature-rich, has many plugins that can be very helpful for development, has great community support because of its popularity and has also a sleek design. Moreover, IntelliJ does not just provide all this for Java but also supports many other languages and provides language-specific features.
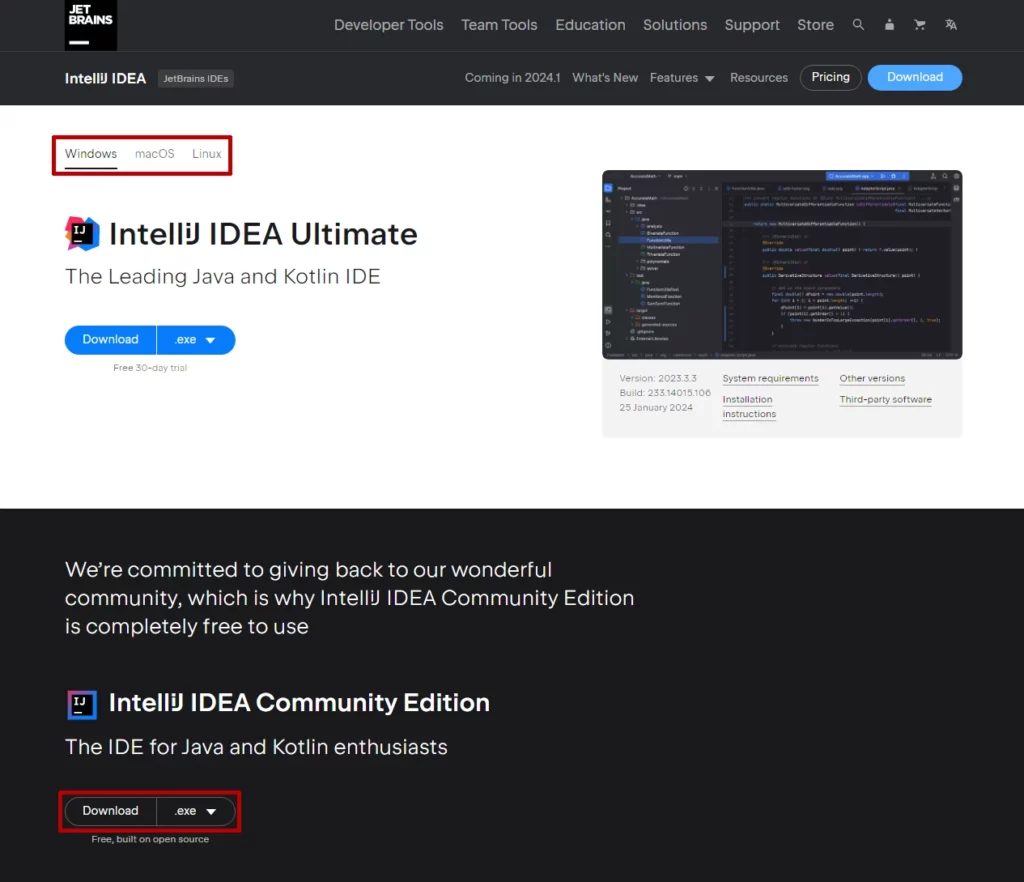
Before you can begin to set up a powerful Java development environment with IntelliJ IDEA, you first have to download the setup. To get that you just have to visit the JetBrains Download Website. There you can download two different versions. The Ultimate Edition and the Community Edition. The key difference between these two is, that the Ultimate Version is paid, whilst the Community Version is free. For the beginning, the free version is enough, however, the paid version has some nice features like creating a Spring project directly in your IDE and many other helpful features.
Good to know is that if you are a student or teacher you can apply for an educational license. With that, you get IntelliJ IDEA Ultimate and their other Premium products for free. If you are interested you can click here.
In this tutorial, we are covering the installation of the Community Edition, but the process is quite similar to the Ultimate Edition.
To download the setup you have to visit the website, which is mentioned already above. To download the Community Edition setup, you may have to scroll a bit to see the download link since the first link on this Website is for the Ultimate Edition. You can also select your operating system at the top of the page.
Set up a powerful Java Development Environment
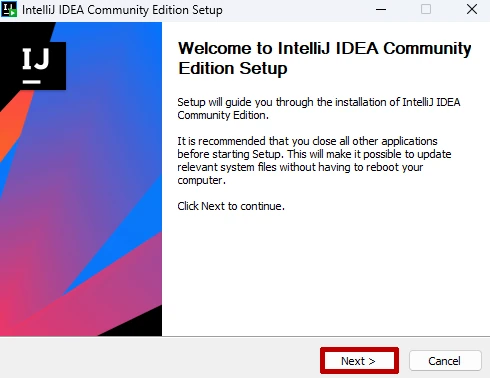
After the download is finished you can execute the setup. Now the process to set up a powerful Java development environment begins. On the welcome page of the IntelliJ IDEA installer, you can just press Next.
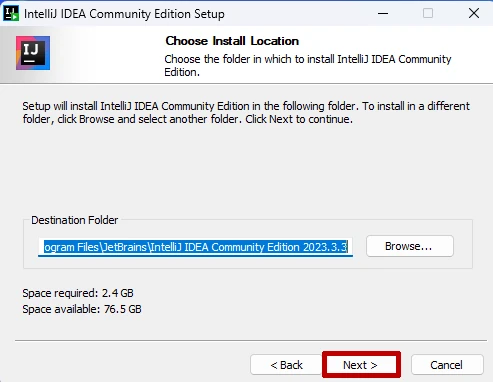
The following slide will ask you, to to select the installation folder. There you can choose any location you want. As usual, it is recommended to install such programs if possible on an SSD to improve the speed of the program. Keep also an eye on the required space in the bottom left corner and the space left on the directory you selected. Confirm your choice by pressing Next.
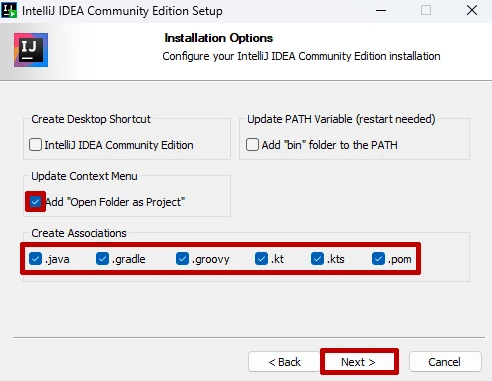
After pressing Next, you should see the Installation Options window. If you want to create a Desktop Shortcut you can check the checkbox. We recommend to select the checkboxes as shown in the screenshot below. Especially the option “Add ‘Open Folder as Project'” to the context menu is quite handy because you can open every folder on your computer as a project. With that, you can also open existing projects, that are not recognized as projects. But also the associations are helpful to open your programming files in IntelliJ by default. If you have set all checks you can press Next.
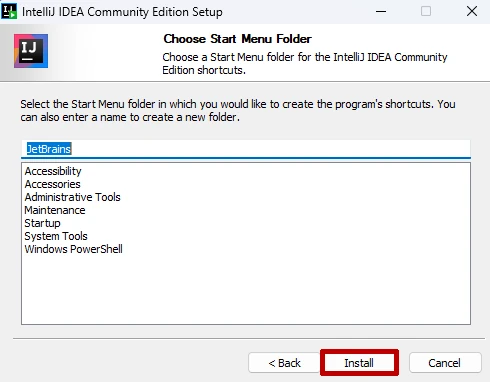
On the next screen, you can select your preferred start menu folder. You can choose whatever folder you like, but you can also just leave the preentered folder name, so a new start menu folder will be created. If you are done with that you can press Install to start the installation. If you want to go back a step to change a setting or cancel the setup you can still do this.
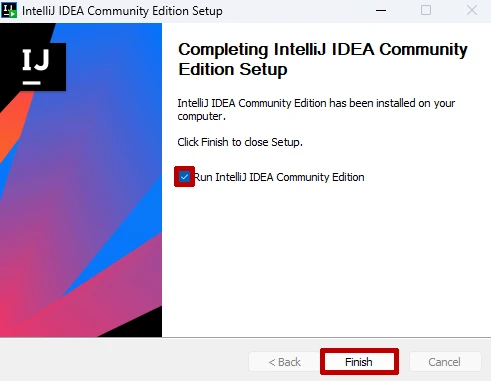
After the installation is done, you will see the last window of the setup. There you can select “Run IntelliJ IDEA Community Edition” to start the program after finishing the setup. To complete the setup simply press Finish.
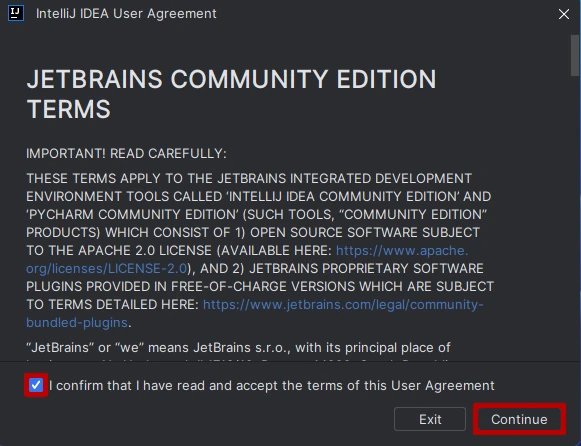
You now have successfully set up a powerful Java development environment. If you now start IntelliJ you will first see a screen to agree to their Terms. To continue you have to confirm that you read and accept them and confirm that by pressing Continue.
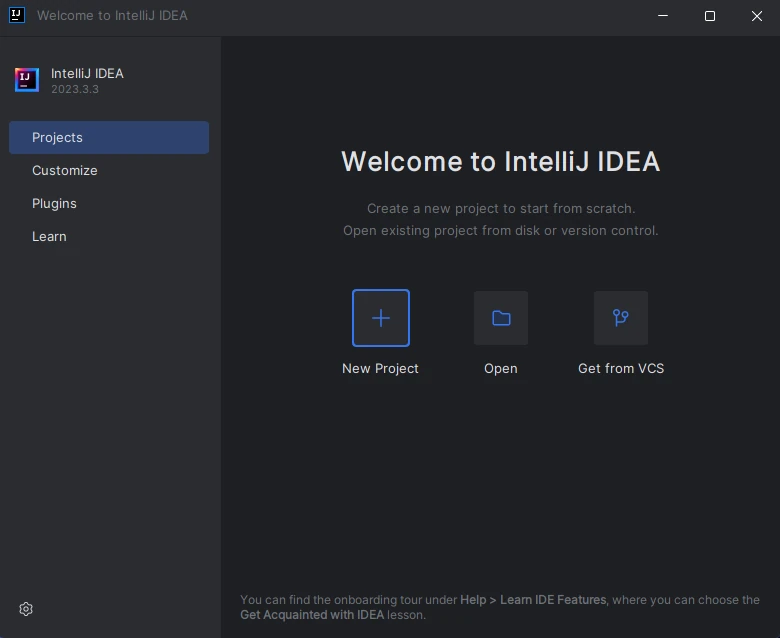
The next window now shows you options to create a new project or open one. You will see this screen every time you open IntelliJ IDEA when no project is loaded. If you have a project opened and you close IntelliJ, it will automatically reload the project when restarting your new IDE.
